My previous post was describing how I use Grasshopper to modify a complex ceiling surface in Rhino. Once this surface is correctly modeled by taking into account constrains set by the actual construction of the ceiling (space taken by structural framing, planarity, maximal angle … ), I have to create construction documentation from it.
I need to produce drawings from the 3D models of the ceiling to make it understandable by someone who will built it.
Revit will be our software of choice here. The power of Revit resides in its ability to efficiently produce drawings from a model. To be able to represent our Rhino surface on 2D drawings, we first have to create a Revit model from the Rhino surface.
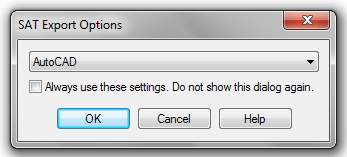
After some trials and errors with the DWG export options of Rhino, I ended up exporting my surfaces as an ACIS (.sat) file, with the default Autocad export configuration.
I import this .sat file in a new Conceptual Mass family in Revit. The positioning is set to Origin to Origin to place our ceiling in its correct position regarding the origin of the massing family.
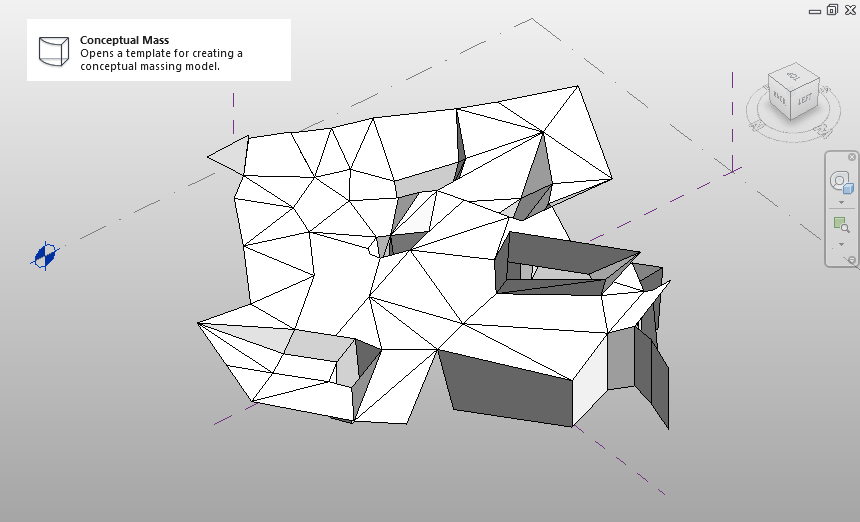
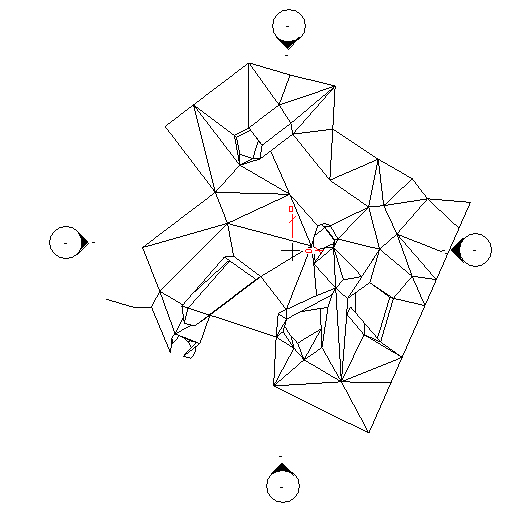
I insert this family in my Revit project, and use two dimensions to place it at the origin of the project.
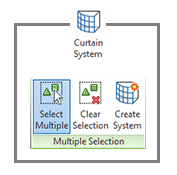
This massing family allow us to create a curtain system by face, by selecting every face of our mass. I use it to create two curtain system, each one with a specific purpose.
The first one is populated only with curtain panel to represent the finish face of our ceiling. Since every panel fit a face of our massing family, we don’t need to add any subdivision into this grid. Curtain panels are 100 mm thick, and have a 50 mm offset to place their finish face along the surface of the curtain system.
I create another curtain system to model the structural element of our ceiling. This curtain system is populated with specifically designed mullion, and without any curtain panel. These mullions represent the supporting elements of our ceiling, and are modeled along the border line of each panel.

Creating a specific curtain system to model mullions allows a greater control over the elements, and does not interfere with the previously created curtain panels.
Once these panels and structure are modeled, Revit will gladly create any needed section view, with all required graphic styles and tags.
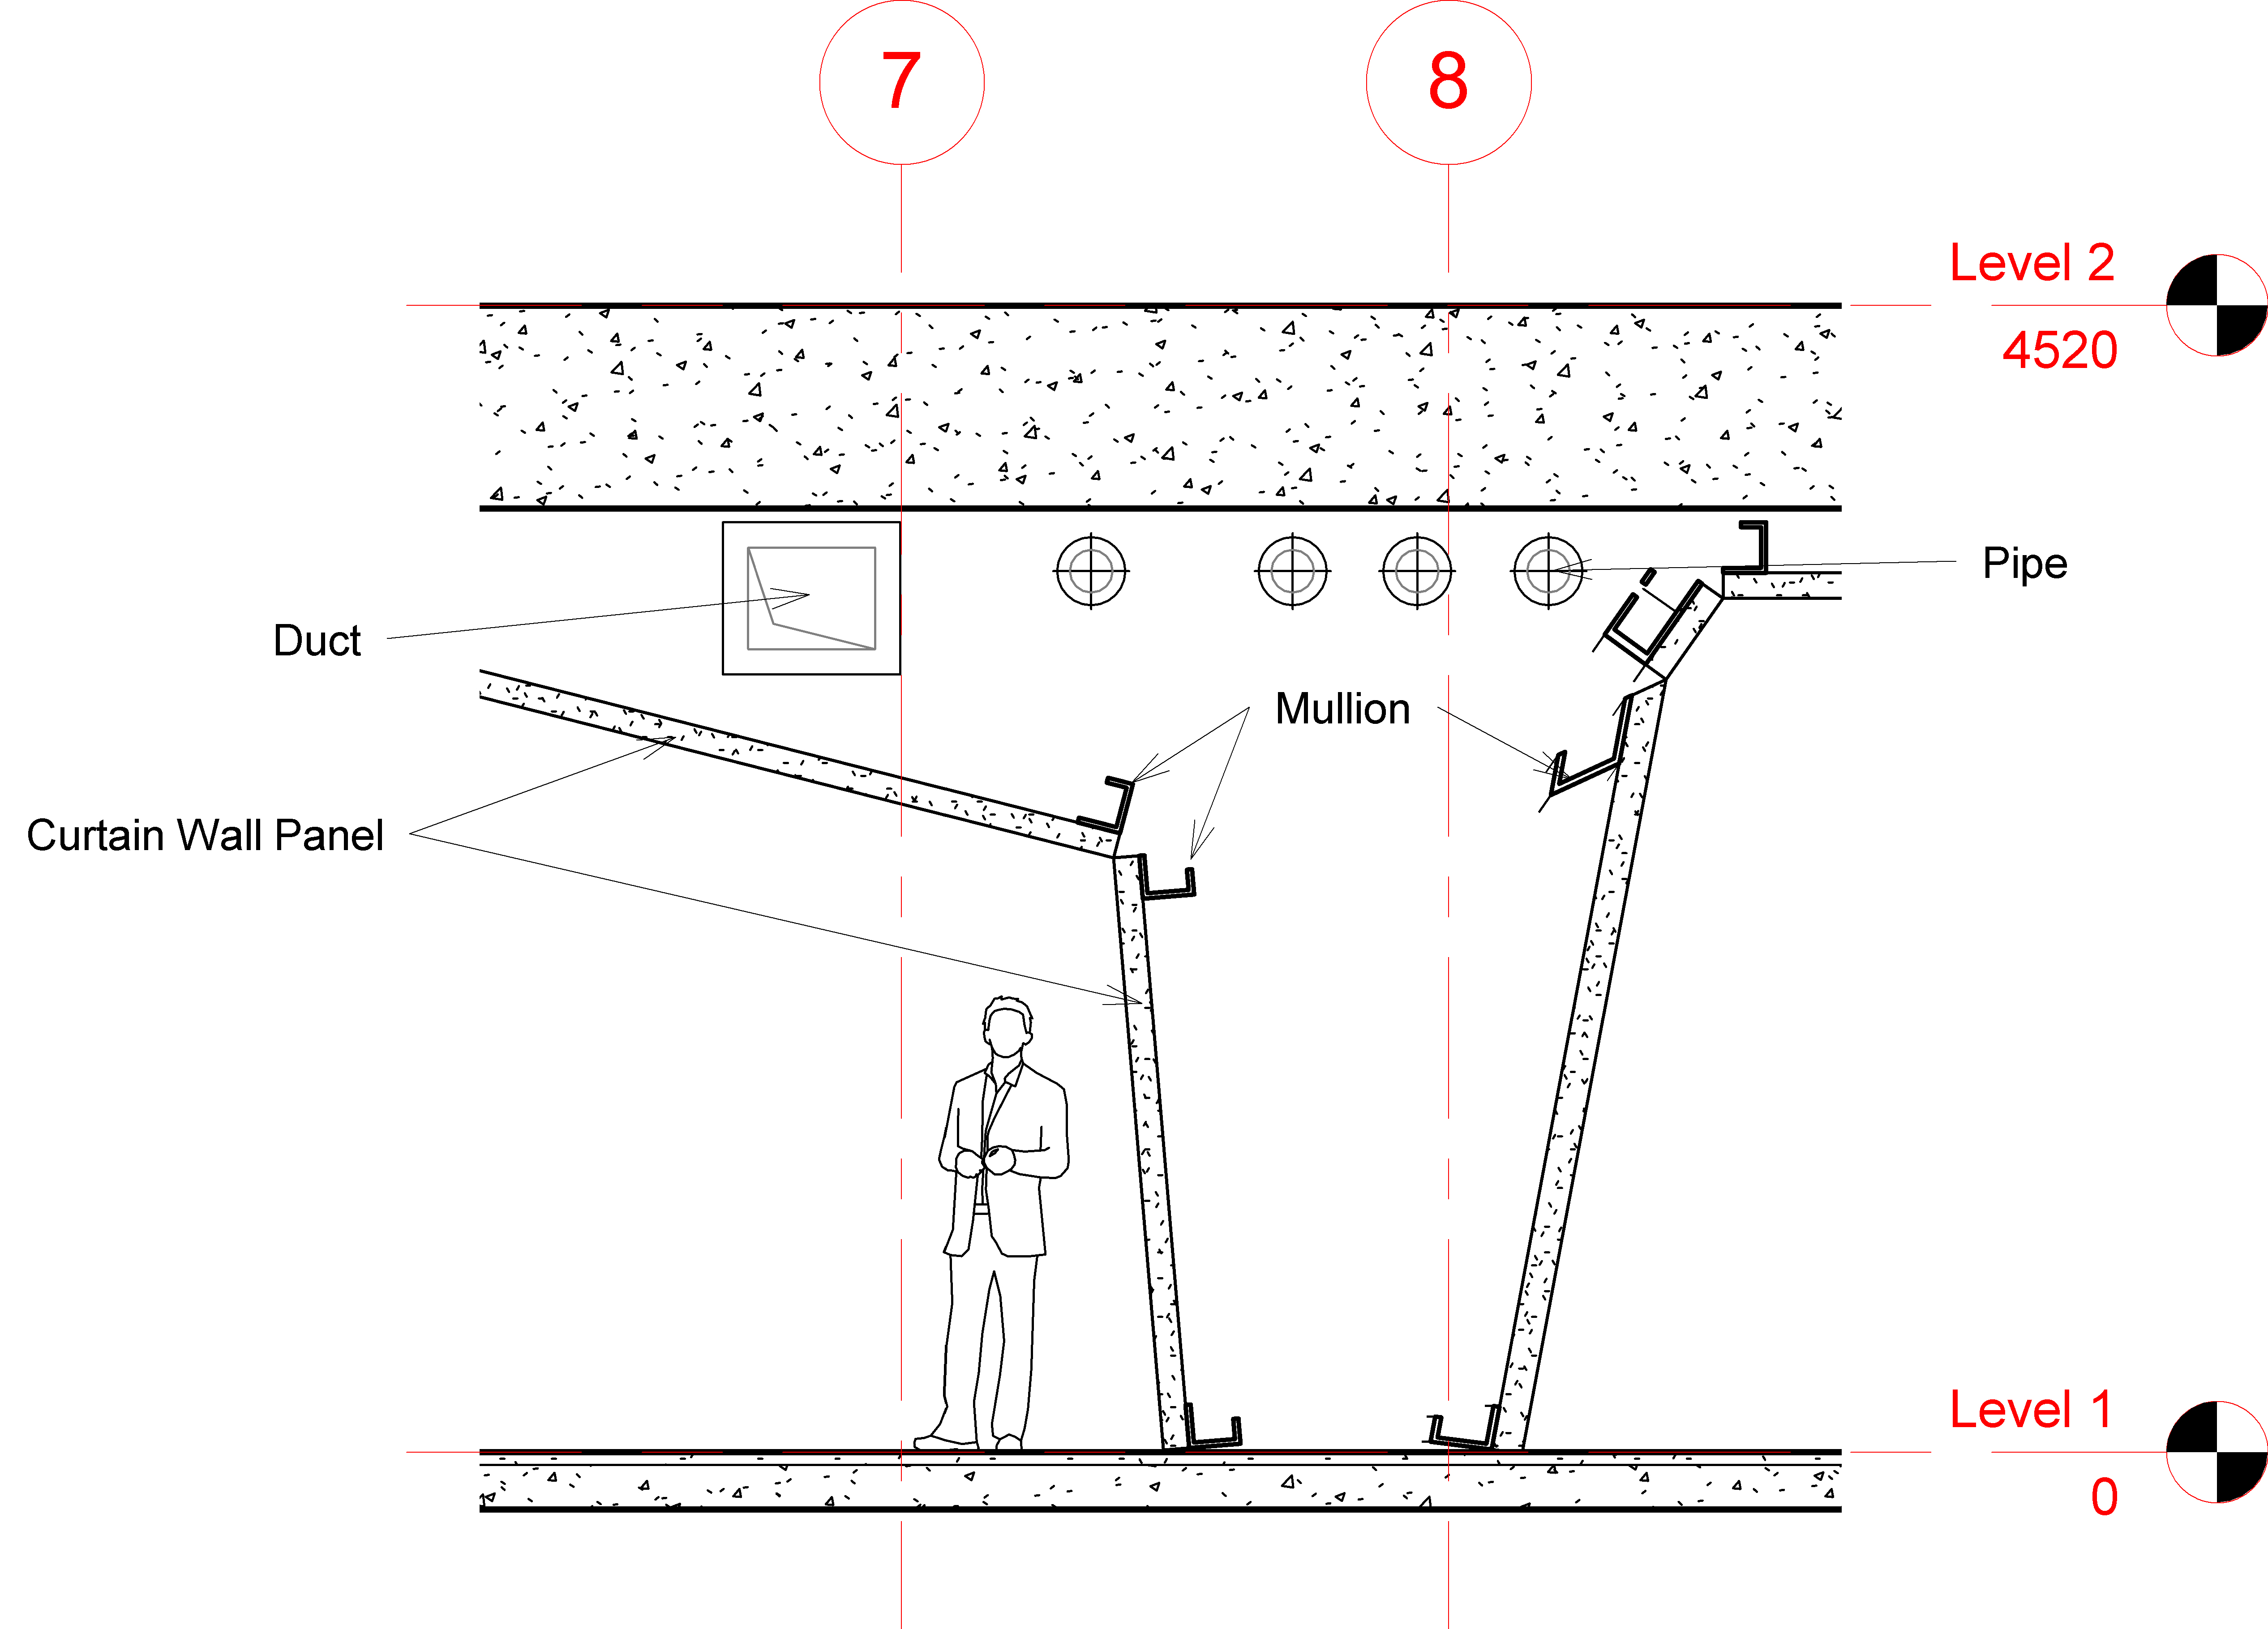
Every element is also fully documented, and therefore schedulable, allowing us to extract information like the surface of every panel, or the length of the structural framing.
I will enjoying my summer break for the next few weeks, and will put BIM 42 on hold. Next post in September!