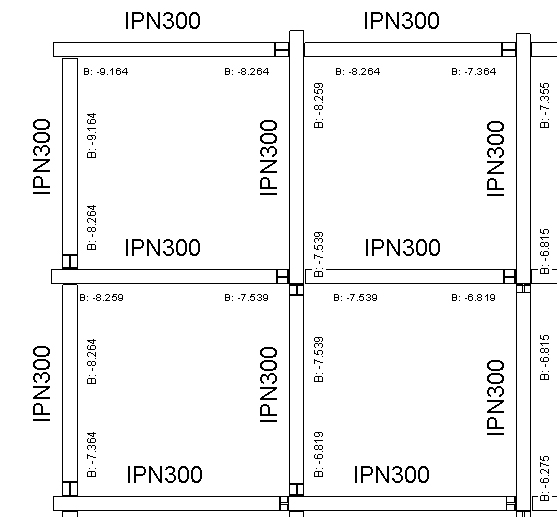
An article from Line Shape Space drive me to the Beam Annotation tools, and the various possibilities to automatically tag a set of beams.
The first idea when having to annotate a set of element is the Tag All function, quite efficient, but limited only to a tag by category. Furthermore, this function does not have the possibilities to add different tags on the same object.
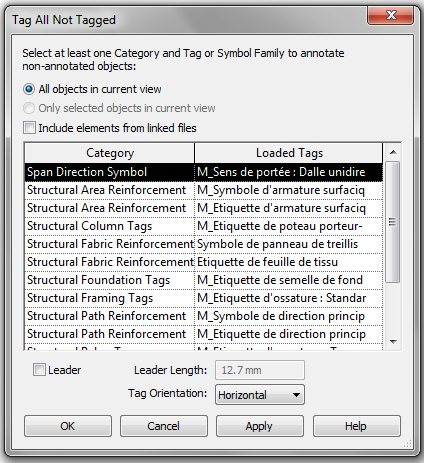
To annotate efficiently a large set of beams, a specific tool exist, Beams Annotations. It functions pretty much like the Tag All command, but with more options.
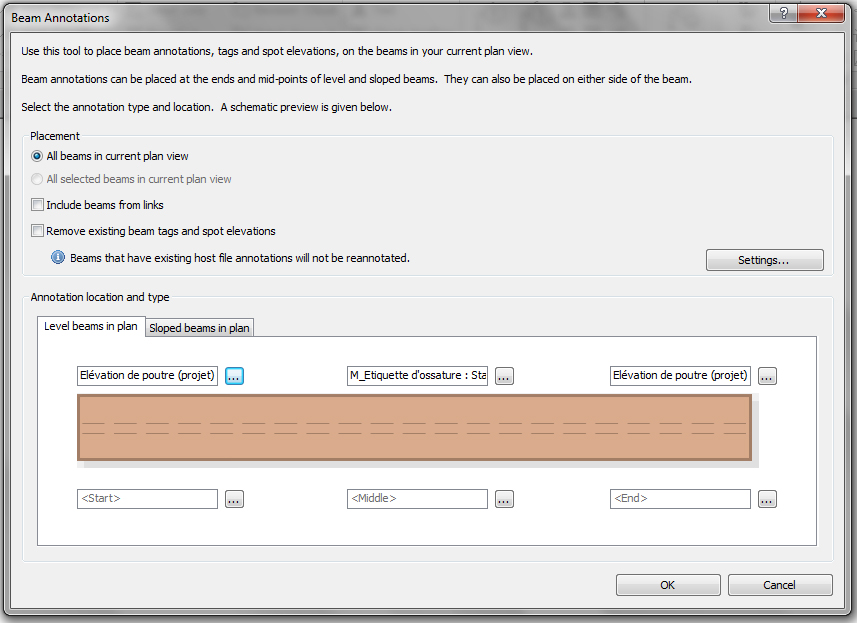
You start by selecting the set of beams you want to annotate (All beam or only selected one), and if you want to include linked models elements.
Things become quite interesting with the other part of the windows, which display a schematic beam with six slots:
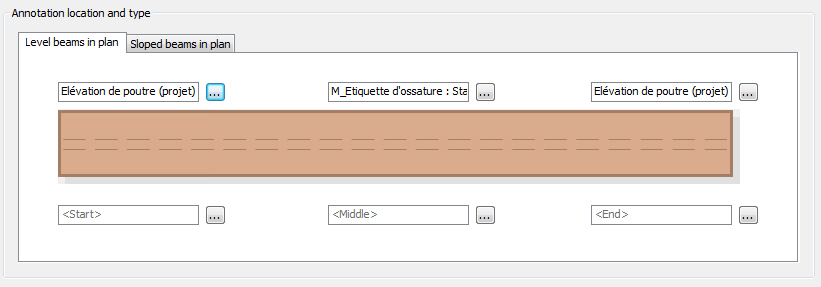
This second part allow us to describe where we want to place Structural Framing tags or Spot Elevation on our beam.
Here the possibilities are quite extensive. On every six position of each beam (start, middle, and end, on each side), you can select different options to place a Structural Framing Tag or an Spot Elevation to display top and/or bottom elevation for the beam:
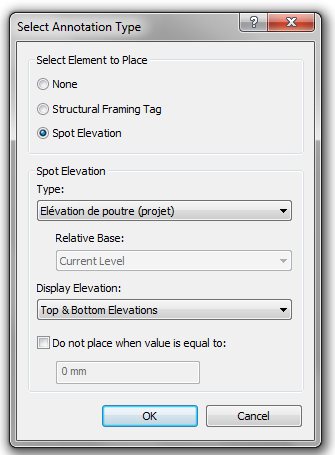
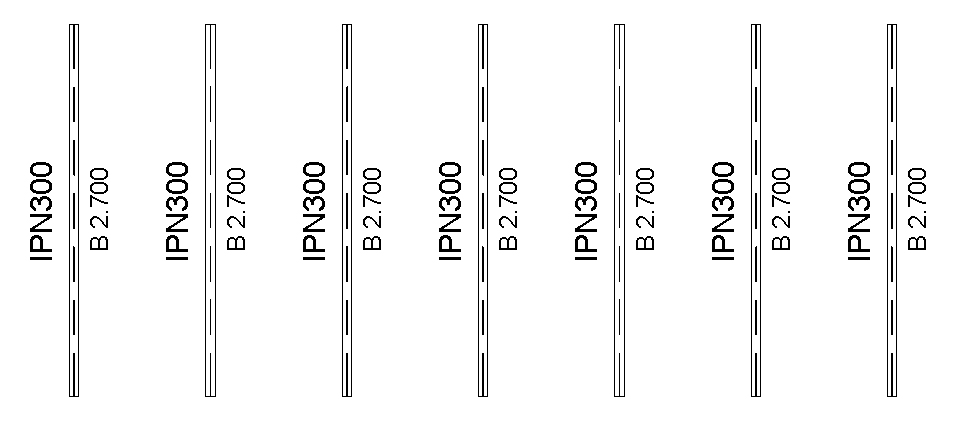
To showcase this feature, I create a set of beam, distributed on the same plane:

In just a few click, I place a tag for every beam along with a nice Spot Elevation displaying the bottom elevation of the beam.
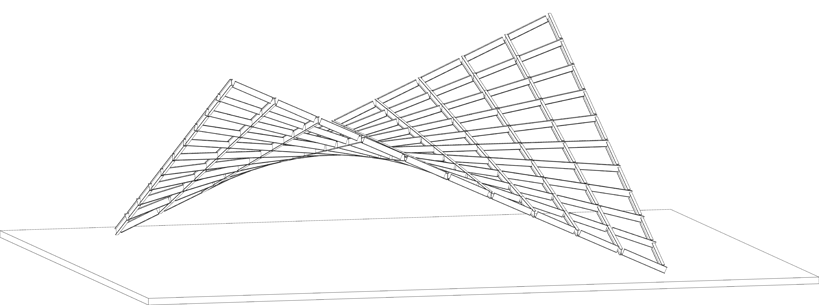
This tool become extremely powerful when dealing with slopped beams. To showcase this feature, I create a set of beams aligned along a complex surface. To create quickly this kind of beam system, I use Grasshopper with the Hummingbird plug-in. I describe the complete procedure in one of my older post.
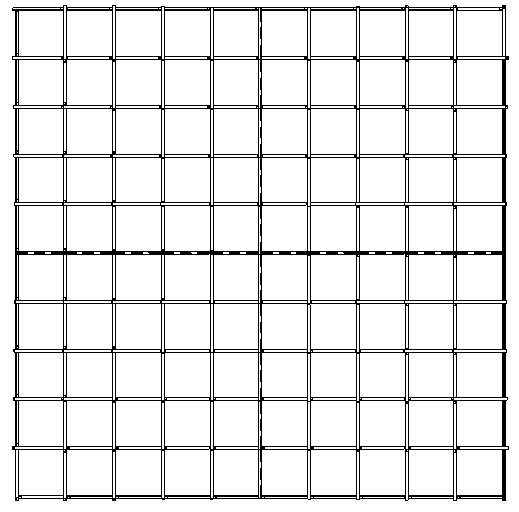
These beams are displayed as a grid in a plan view:
I select the Beam Annotation tool, and add a Spot Elevation at the stating and the ending point of sloped beams, along with a Structural Framing Tag on the middle.
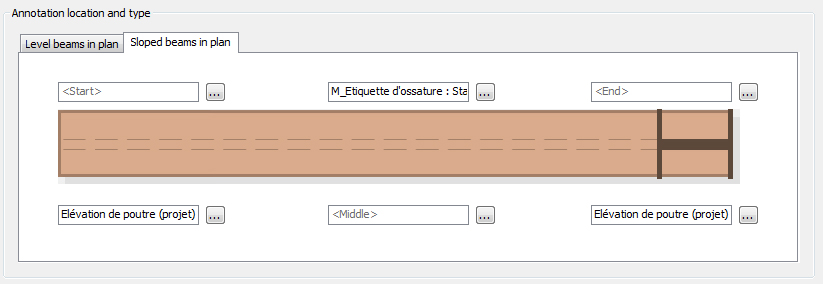
After running the command, Revit add a Structural Framing Tag and two Spot Elevation on every beams in my view:
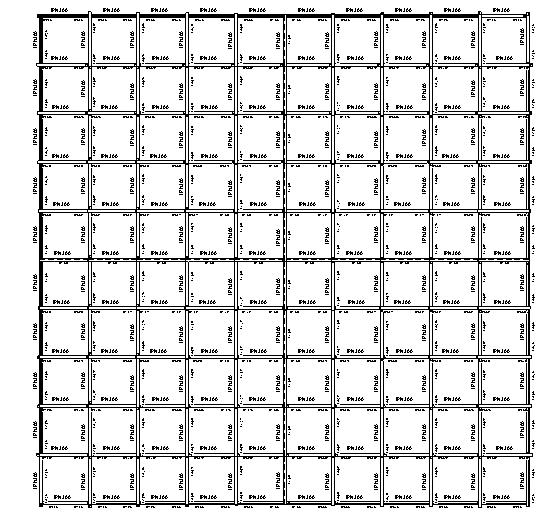
These annotations place themselves nicely along the beam, and a few adjustments with the setting adjust them perfectly on the view:
