A lot of MEP calculations available in Revit needs analytical spaces at some point, and it is crucial to have them properly modeled.
Properly placing these spaces can be a tedious business, especially for large buildings with hundreds of rooms. You can use the Place Space Automatically function, but it can create spaces in undesired places, and does not necessarily match the architectural rooms.
Furthermore, superposing of a space upon an existing architectural room only retrieves the name and the number of the corresponding room, and falls short for any other property we could want to add to our MEP space.
One of the solutions for creating MEP spaces is to match rooms created in the linked architectural model. To do so, I wrote a small application for creating a space for each room defined in a linked model.
This application loops on every linked instance, searching for rooms, and uses these rooms to create the corresponding space, retrieving in the process a handful of parameters, like name, number, and most critically, Limit Offset.
You can find here a little ScreenCast showing how it works. The entire source code is available below.
While working on it, I also found some interesting property : Computation Height. This is a level property, and it allows to define the height used to define boundaries on this level.
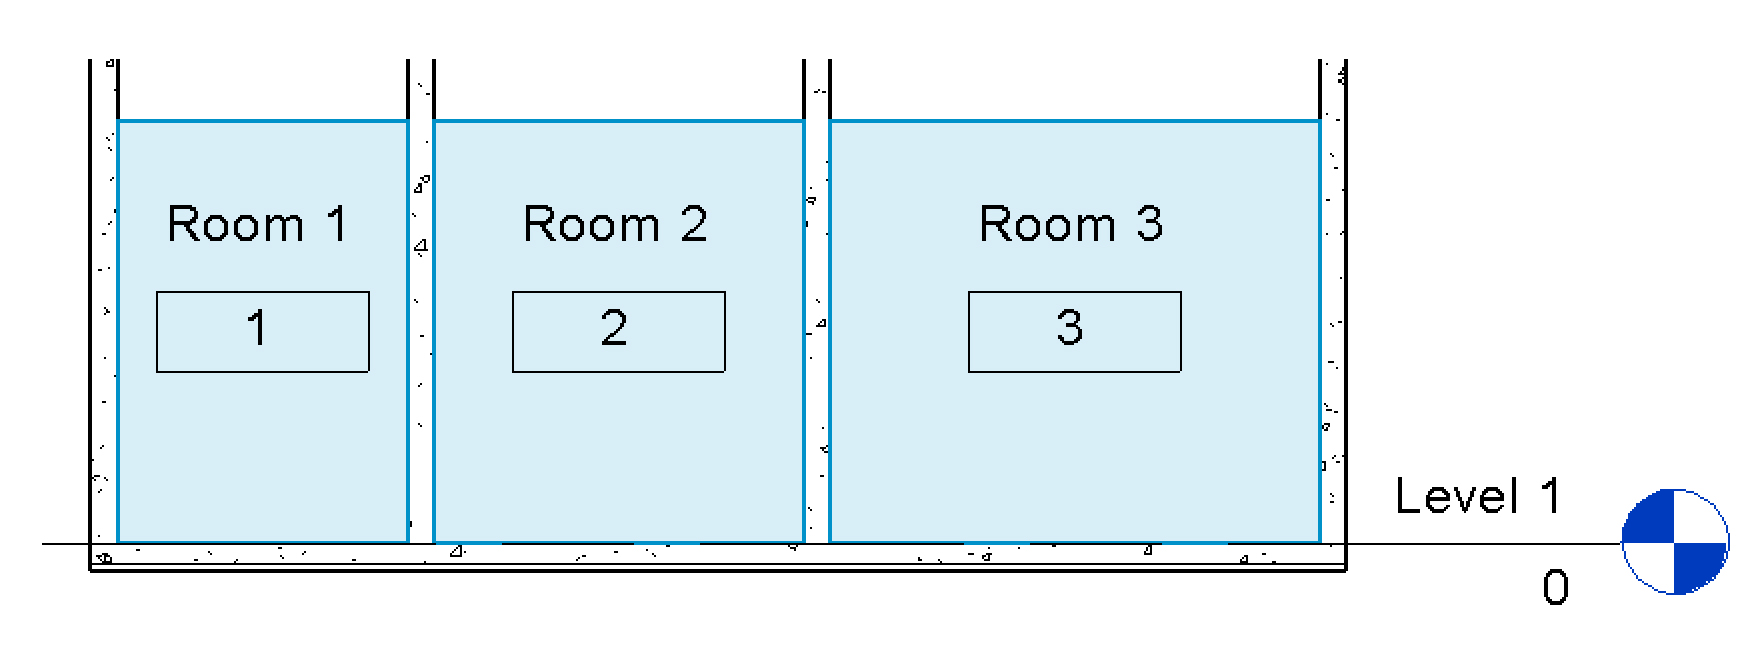
Let’s create three rooms on a given level:

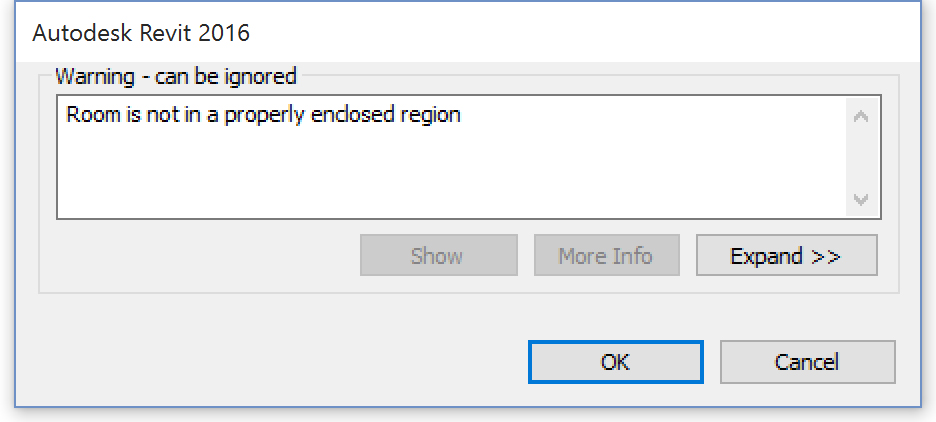
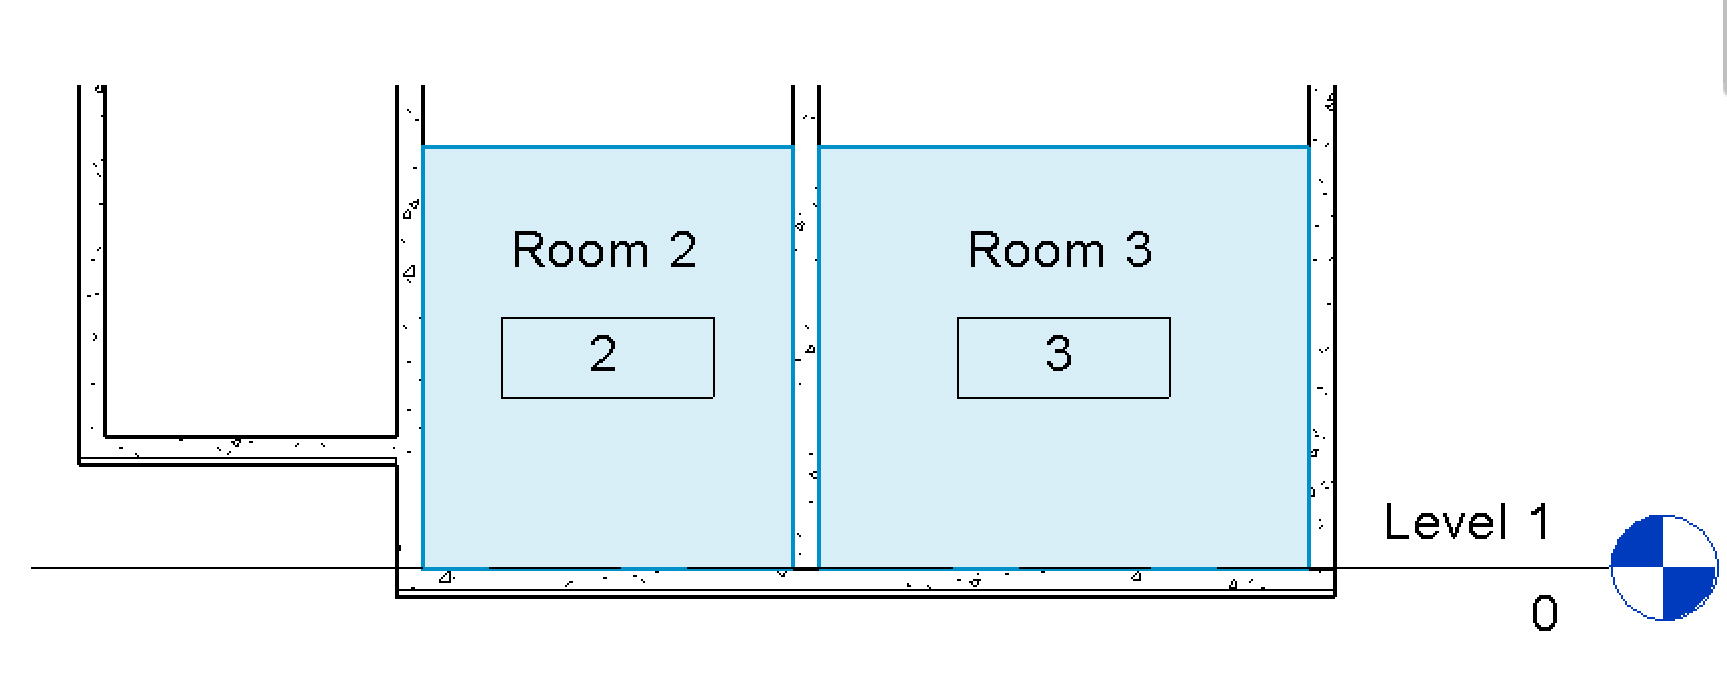
But if we add some variation on the floor level, the room disappears with the following warning:

By default, these rooms are calculated at the level elevation. Every wall at “0 m” above the level will be used as a room boundary.
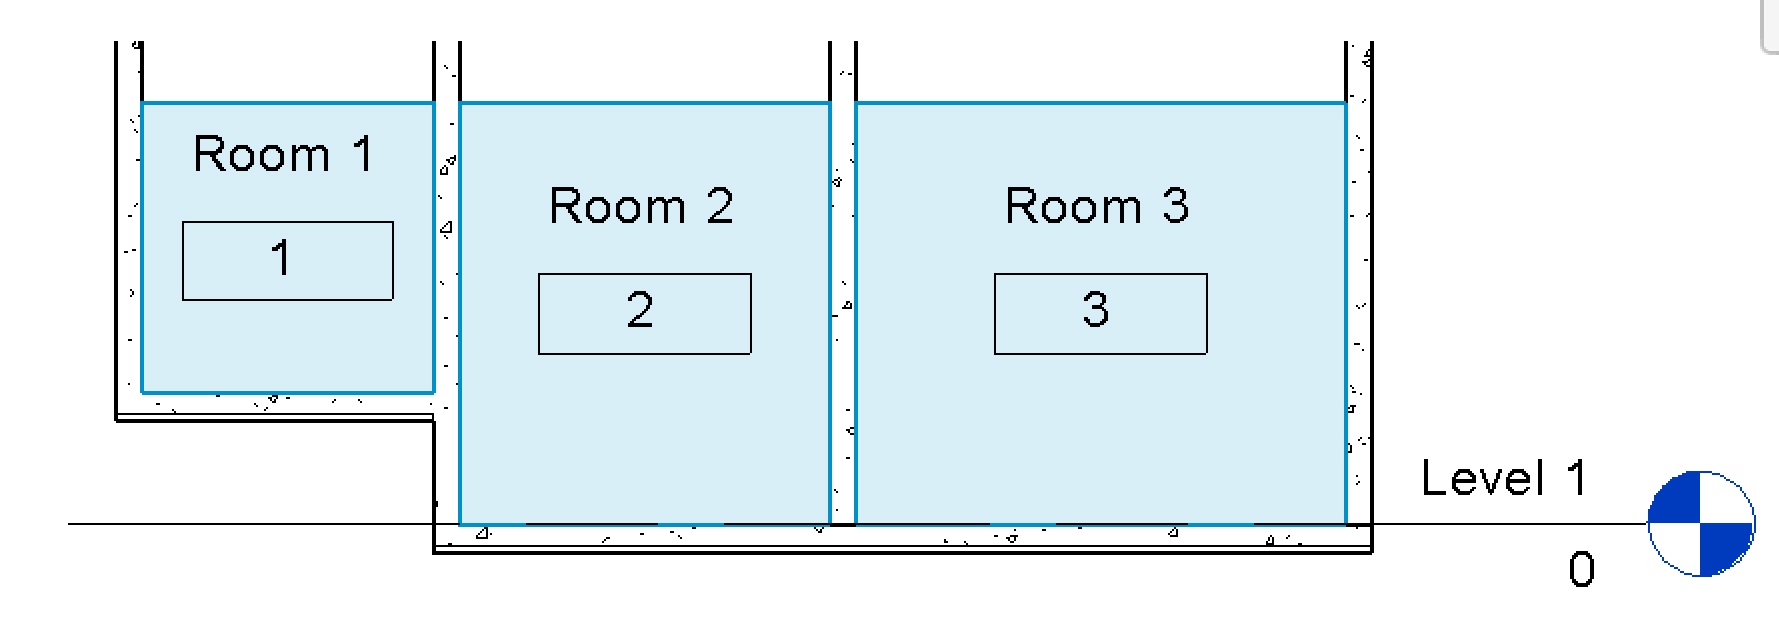
The Computation Height properties allows us to change the elevation where we calculate the room. In our example, we change the Computation Height of the Level 1 to 1 meter, and the room fit nicely between its boundaries.

Of course, this is also true for Spaces.
public void RoomToSpace()
{
    Document activeDocument = this.ActiveUIDocument.Document;

    //Get All linked instance
    FilteredElementCollector collector =
        new FilteredElementCollector(activeDocument);
    List<RevitLinkInstance> linkInstances = collector
        .OfCategory(BuiltInCategory.OST_RvtLinks)
        .WhereElementIsNotElementType()
        .ToElements().Cast<RevitLinkInstance>().ToList();

    //Get all levels
    collector = new FilteredElementCollector(activeDocument);
    List<Level> levels = collector.
    OfCategory(BuiltInCategory.OST_Levels)
        .WhereElementIsNotElementType()
        .ToElements().Cast<Level>().ToList();

    using (Transaction tx = new Transaction(activeDocument))
    {
        tx.Start("Create Spaces");

        //Loop on all linked instance
        foreach (RevitLinkInstance linkInstance in linkInstances)
        {

            //Get linked document
            Document linkedDocument = linkInstance.GetLinkDocument();

            //Get linked instance position
            Transform t = linkInstance.GetTotalTransform();

            //Get rooms in the linkedDocument
            collector = new FilteredElementCollector(linkedDocument);
            List<Room> linkedRooms = collector
            .OfCategory(BuiltInCategory.OST_Rooms)
            .ToElements().Cast<Room>().ToList();

            //Create a space for each room
            foreach (Room room in linkedRooms)
            {
                LocationPoint locationPoint = room.Location as LocationPoint;
                XYZ roomLocationPoint = locationPoint.Point;
                roomLocationPoint = t.OfPoint(roomLocationPoint);

                if (roomLocationPoint != null)
                {
                    Level level = GetNearestLevel(roomLocationPoint, levels);
                    UV uv = new UV(roomLocationPoint.X, roomLocationPoint.Y);

                    Space space = activeDocument.Create.NewSpace(level, uv);

                    space.Number = room.Number;
                    space.Name = room.Name;

                    Parameter limitOffset =
                        space.get_Parameter(BuiltInParameter.ROOM_UPPER_OFFSET);
                    limitOffset
                    .Set(room.get_Parameter(BuiltInParameter.ROOM_UPPER_OFFSET)
                    .AsDouble());
                }
            }
        }
        tx.Commit();
    }
}

private Level GetNearestLevel(XYZ point, List<Level> levels)
{
    Level nearestLevel = levels.FirstOrDefault();
    double delta = Math.Abs(nearestLevel.ProjectElevation - point.Z);

    foreach (Level currentLevel in levels)
    {
        if (Math.Abs(currentLevel.ProjectElevation - point.Z) < delta)
        {
            nearestLevel = currentLevel;
            delta = Math.Abs(currentLevel.ProjectElevation - point.Z);
        }
    }

    return nearestLevel;
}